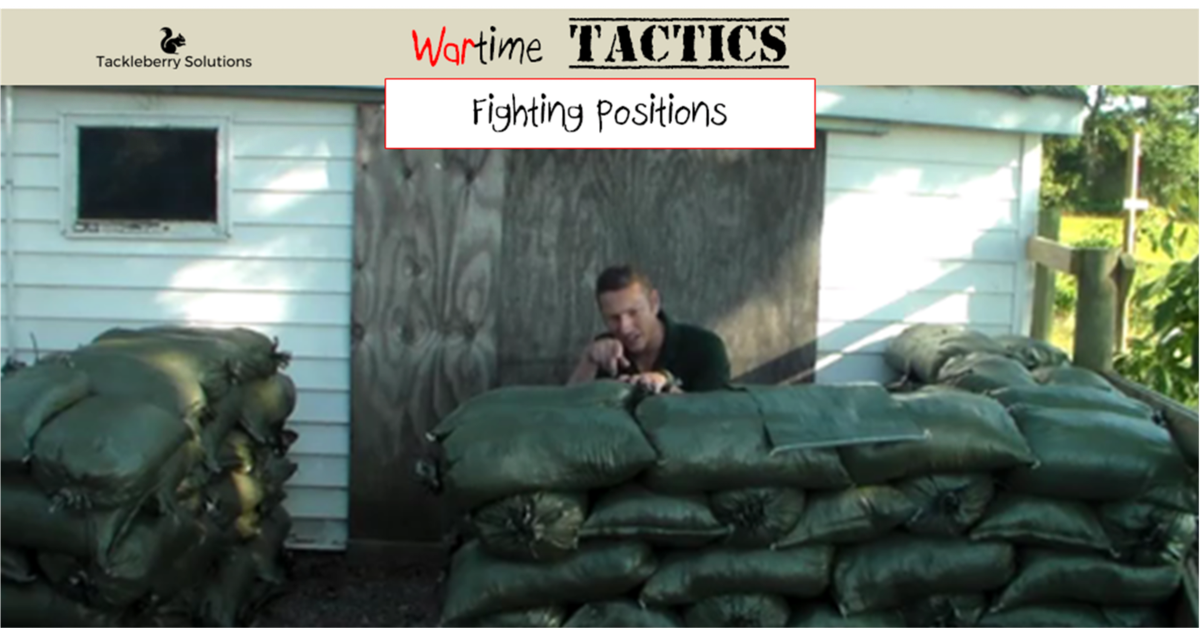
How to use sandbags to build fighting positions during a time of war that can stop bullets and even shrapnel from explosives.
Fighting Positions: Press Play
Although sandbags are a lot of work initially, they are actually better than a brick or cement wall when it comes to building your fighting positions. This is because a brick or cement wall will actually break down faster. Eventually, the gunfire/shrapnel will cause the wall to fall apart and expose you.
However, dirt can take a lot more of a beating before it starts to erode enough to where it is no longer providing cover.
More is Better
First I'd like to help you avoid a mistake that I made when building my fighting positions. And that was thinking that a few bags were going to be enough to create the cover that I needed. It actually took me about 150 bags just to build one fighting position.
It is important to create enough space so that you can have help with the injured while you are fighting off the enemy. This also gives you more room to maneuver.
You can get the sandbags that I purchased here.
Fighting Positions: Height
The fighting positions that I have staged around my house are no higher than 7 layers of sandbags. This makes it easier for you to jump/step over the wall if you have to (especially important if you are wearing body armor.)

How to Build Subtle Fighting Positions
If you're not looking to be obvious when creating your fighting positions, you can build them along the wall from INSIDE your home. This is especially helpful if you are wanting to build a safe room.
To expound, dirt is fairly easy to come by, stack and position. It is a great, low cost method of fortifying your home.
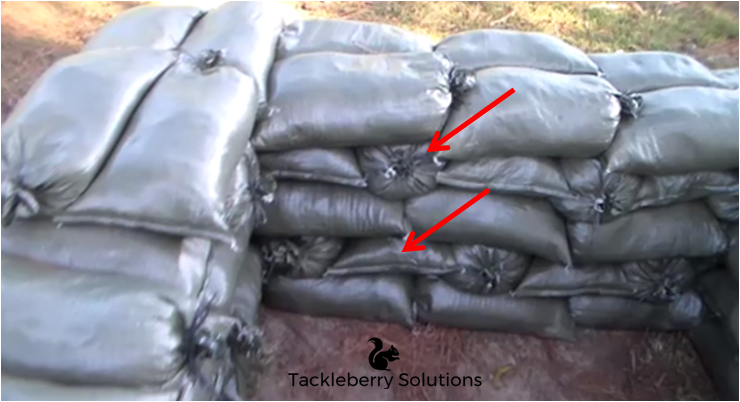
The Trick Behind Stacking Sandbags
- Stack 2 deep
- Crisscross the bags
- Alternate which direction the bags are facing
- Take advantage of doorways (this way, you can retreat back into the building to care for the wounded while still under cover from the sandbags)

Leave Your Fighting Positions Open
An important thing to remember with these fighting positions is that you want them to be open towards the inner parameter so that your injured can be dragged away from the fight and administered to without getting shot.
To clarify, you don't want to have sandbags all the way around your fighting position. You want to leave a large enough gap to enable to you move the injured, or back up without exposing yourself.
Inner Perimeter and 360 Security
When you are building your fighting positions, remember you want to create a 360 degree security for the INNER perimeter.
Why the inner perimeter? You do NOT want to put your fighting positions at the edge of your property because it will be difficult to run supplies back and forth (you'll be exposing your runner every time.) This is especially dangerous if you're up against a sniper.
Please Share
If you found value in this article, please share it with everyone that you can. Questions/Input? Feel free to leave a comment below.


Art,
I’ve a couple of questions. How should one choose which color sandbag material is best suited for one’s area? Obviously, bright colors should be avoided.
Rather than just green or fresh, would mixing the two colors in a disrupted pattern, offer better camoflaging of the position (especially in a suburban yard).
Lastly, which is really better, dirt or sand?
I should know this coming Tuesday if I’ll have extra funds for the newest class. I’ve a couple of utilities to pay, and I’m not sure what the amount is. If it’s the same as last month, I should have enough left over to buy the next course. MLK Jr. Day delays me as Minday t HF e two will be closed. Tuesday evening should put me within the 7 day grace period.
Thank you again and your lovely wife for extending the BofT discount past the cut off. I greatly appreciate it.
Ok, honestly, it’s not really going to matter. If you were building an outpost or a fortified OP/LP then it would matter. But in that case, you would cover it with sticks, leaves, and fresh green vegetation. But in an Urban/Suburban area, you have other options. First, you can make your fighting positions hidden by building them on your screened-in porches or inside the house by stacking the bags against the outside wall. If that’s not an option then build them near your doorways, on the corners of your home, and then cover them with a roof coming off your house. This will provide cover from the extreme heat or nasty cold rain. Also, this will allow you to hang a mosquito screen or camouflage netting from the roof to the ground. By doing this it will hide the bags/fighting position. As a result, it will also hide if you are even in the fighting position or not. So it’s harder for a sniper to shoot at you, and anyone approaching the house/reconning it will not know if the position is maned or not.
I’m glad that you liked the Battle of Trenton Test. Thank you for commenting and feel free to contact us if you any more questions.